
Candle Box Packaging Design Guide
A practical guide to product measurements, carton structures, dielines, inserts and print-ready artwork for a custom candle box.
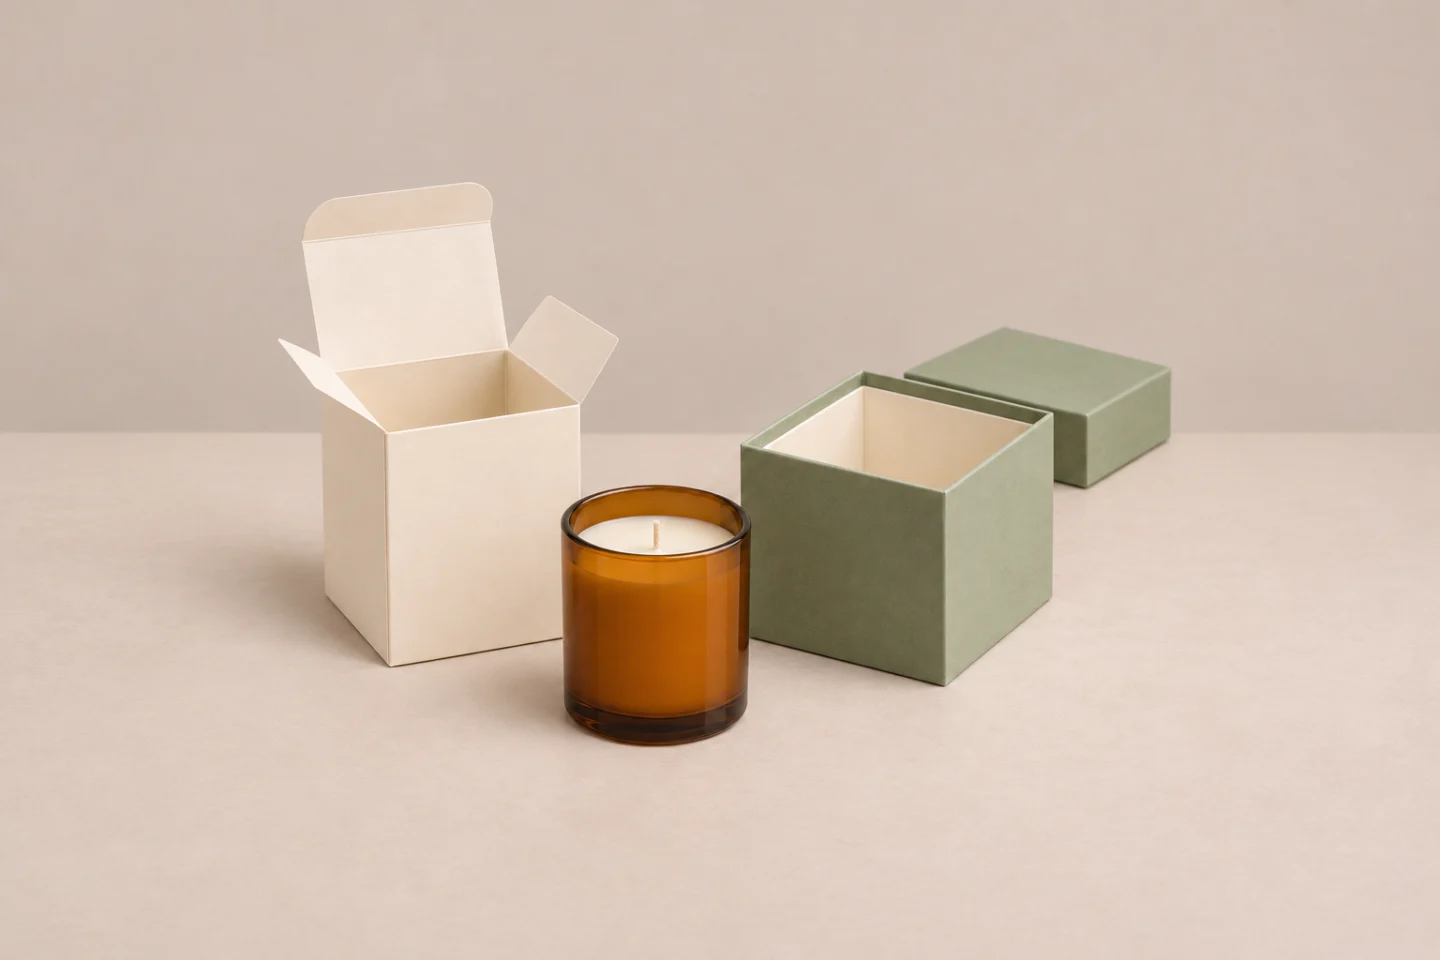
Candle Box Structure Design Concepts
Candle box packaging design starts with the complete product, then connects the box structure, material, insert and artwork to an approved sample. Measure the candle with its fitted lid and label, define the space it needs, and develop the structural drawing before finalizing graphics.
For brands and packaging buyers, the useful outcome is a specification that a supplier and packing team can interpret consistently. A beautiful rendering leaves important questions unanswered if the jar cannot be loaded, the closure interferes with the lid or artwork lands on the wrong panel.
Start with the complete product dimensions
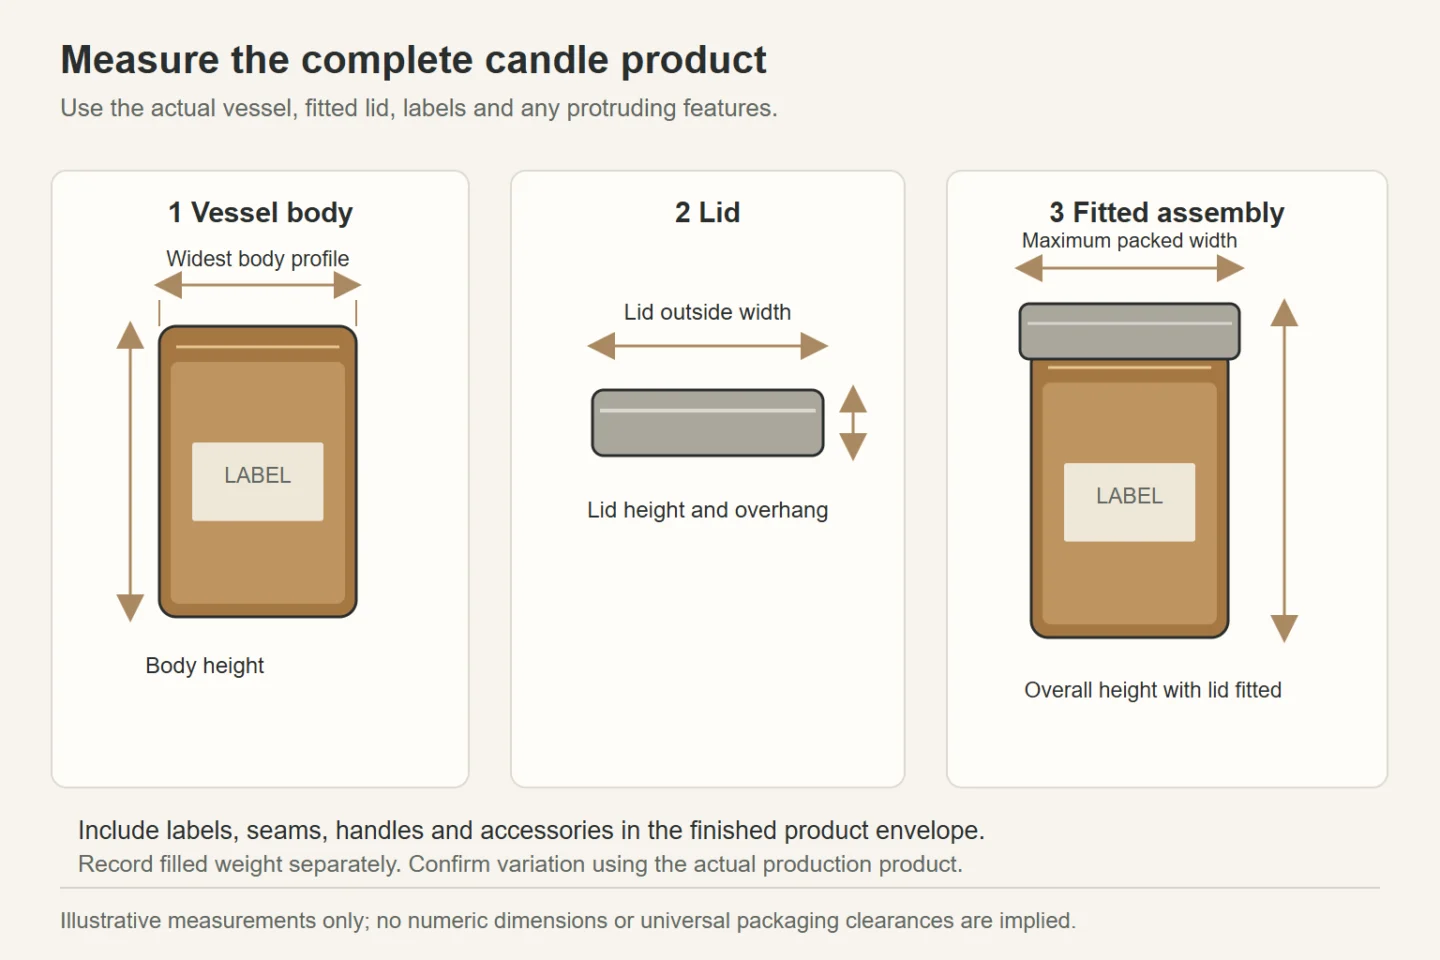
Record the actual filled candle rather than sizing its box from a nominal jar-size label. Collect:
- The widest jar diameter or overall width and depth, including shoulders, handles or other protrusions.
- Jar-body height, fitted-lid dimensions and total height with the lid installed.
- Label thickness and any raised decoration that changes the product’s outside profile.
- Filled weight, container shape, intended orientation and relevant variation between units.
- Accessories, their dimensions and how they will sit beside the candle.
Distinguish product dimensions, box internal dimensions and box external dimensions. The first describes the complete candle product; the second describes the assembled box interior; the third describes the outside of the finished box. Specify the usable product cavity after allowing for any lining, insert and support.
Board thickness, folds and overlaps also belong in structural development. Esko’s board-setting guidance identifies inside loss, outside gain and other allowances. Ask the supplier to resolve these for the proposed construction rather than treating outside measurements as an internal cavity.
Choose a structure around loading and opening
Select both the opening experience and the packing operation. Our Folding Cartons collection provides formats to discuss, but an exterior photograph cannot establish the bottom construction.
| Structure | Opening or assembly arrangement | What to confirm with the candle |
|---|---|---|
| Straight tuck end | Main top and bottom closure flaps attach to the same panel | Loading direction, tuck engagement and insert position |
| Reverse tuck end | Main top and bottom closure flaps attach to opposite panels | Panel orientation, closure clearance and packing access |
| Auto-bottom carton | A pre-glued bottom erects during setup | Base action, bonding and suitability for the filled product |
| Lid-and-base rigid box | A separate cover lifts off the base | Cover fit, removal space and supplied format |
| Magnetic closure box, hinged design | An attached cover closes with magnetic components | Hinge action, closure arrangement and jar access |
| Drawer box | A tray slides within a sleeve | Sliding fit, insert retention and removal |
An auto-bottom changes erection work; it does not automatically qualify a carton for a heavy glass jar. Likewise, a magnetic closure does not replace support beneath the product.
The Paperboard Packaging Council’s carton-style overview describes several folding closures.
Apply the candle packaging dieline
A candle packaging dieline translates the selected structure into a flat drawing. Use the supplier-approved version at its approved size. A downloaded candle packaging template may illustrate an idea, but resizing it can change panel relationships without resolving board allowances or fit.
Identify the cutting lines, crease lines, joining or glue flap, main panels and closure flaps. Follow the drawing’s legend: line colors are not a universal production standard. Confirm the printed side and how each panel turns when assembled.
Bleed extends edge artwork beyond the cut boundary; the safe area keeps essential content away from vulnerable edges. Obtain both requirements from the printer. Keep logos, scent names and other important information clear of glue zones and folds as specified. For panel layout and SKU checks before launch, see our retail packaging guide.
Keep structural instructions distinguishable from print artwork and finishing separations. Check which layers are nonprinting, where adhesive needs an untreated area and how artwork crosses adjacent panels. The illustration here explains relationships in a generic straight-tuck carton; it is not a production-ready drawing.

Select materials for the proposed construction
Specify material roles rather than one vague “premium paper” description:
- Paperboard or cardstock: the cut-and-creased structure of a folding carton.
- Kraft paper: a proposed carton stock, liner or wrap; identify its role and grade.
- Greyboard: a structural core for a wrapped rigid construction.
- Corrugated board: an outer carton, divider or supporting insert where appropriate.
- Specialty paper: a selected visible surface or wrap, subject to printing and converting review.
A board substitution can change folding, fit or the printed appearance. Keep the selected references explicit. Our sustainable candle packaging guide addresses the separate evidence needed for environmental claims.
Design the insert and box together
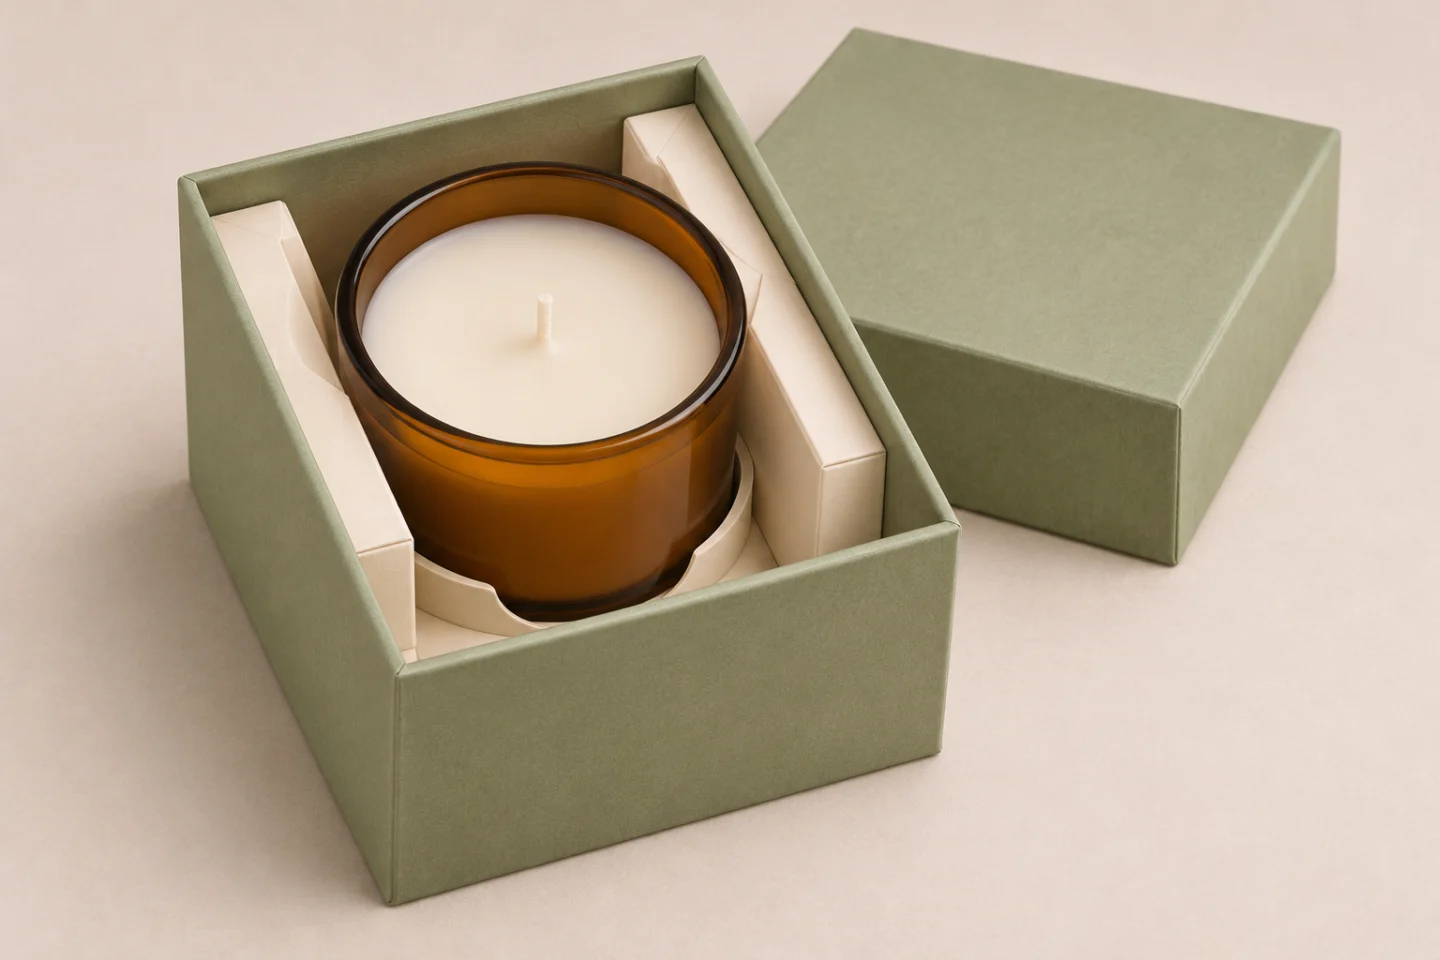
The insert cavity must position the vessel while allowing staff to load it and customers to remove it. Define the contact points, supporting surfaces and access around the jar, lid and label.
Paperboard inserts can use folded platforms or locating tabs. Corrugated inserts can form cells and supports. EVA proposals need an identified grade and geometry; paper trays need their actual construction defined. The material name alone does not establish cushioning or retention.
Review insert thickness, folded supports and clearance to the closed box. Test the actual filled candle, including product variation, in an assembled sample. A tight-looking opening may make loading difficult, while excess freedom can allow movement.
There is no universal insert gap. Confirm the fit and tolerances for the product, material and packing process. Use our candle shipping guide for the separate transport evaluation.
Prepare artwork for printing and finishing
Agree CMYK process colors, Pantone references and any spot inks with the printer. A named color reference does not determine whether production uses a separate ink or a process simulation. Confirm the substrate, printing condition and physical proof reference.
Specify foil stamping, embossing, debossing and spot UV through the supplier’s requested layers or separations. Identify position, coverage and alignment with the printed artwork. Confirm feasibility for the selected stock rather than assuming every fine detail will reproduce.
Treat matte and gloss lamination as parts of the proposed construction and finishing sequence. Our luxury candle packaging design guide covers their visual context.
Check raster artwork at its final placed size, use the original image files and follow the provider’s font and export instructions. A screen preview cannot establish printed color or the actual finishing result.
Build a useful design brief
Turn a general request for custom candle box design into a brief that identifies the key decisions and approval requirements. For a workable candle package design, provide:
- Product photos, complete dimensions, filled weight and physical samples where available.
- Preferred box style, loading method and intended retail or gift use.
- Material references, print requirements and finishing preferences.
- Insert requirements, accessories and access for removal.
- Estimated quantity by size and artwork version, destination and schedule.
State which details are fixed and which need recommendations. This helps the supplier distinguish structural work from artwork development and quote the same scope.
Move from dieline to physical approval
Use a sequence that keeps changes traceable:
- Confirm product specifications. Record the complete candle and accessories.
- Select the box structure. Agree the opening, loading and closure.
- Prepare the dieline. Confirm the board and drawing revision.
- Develop the artwork. Work on the approved structural file.
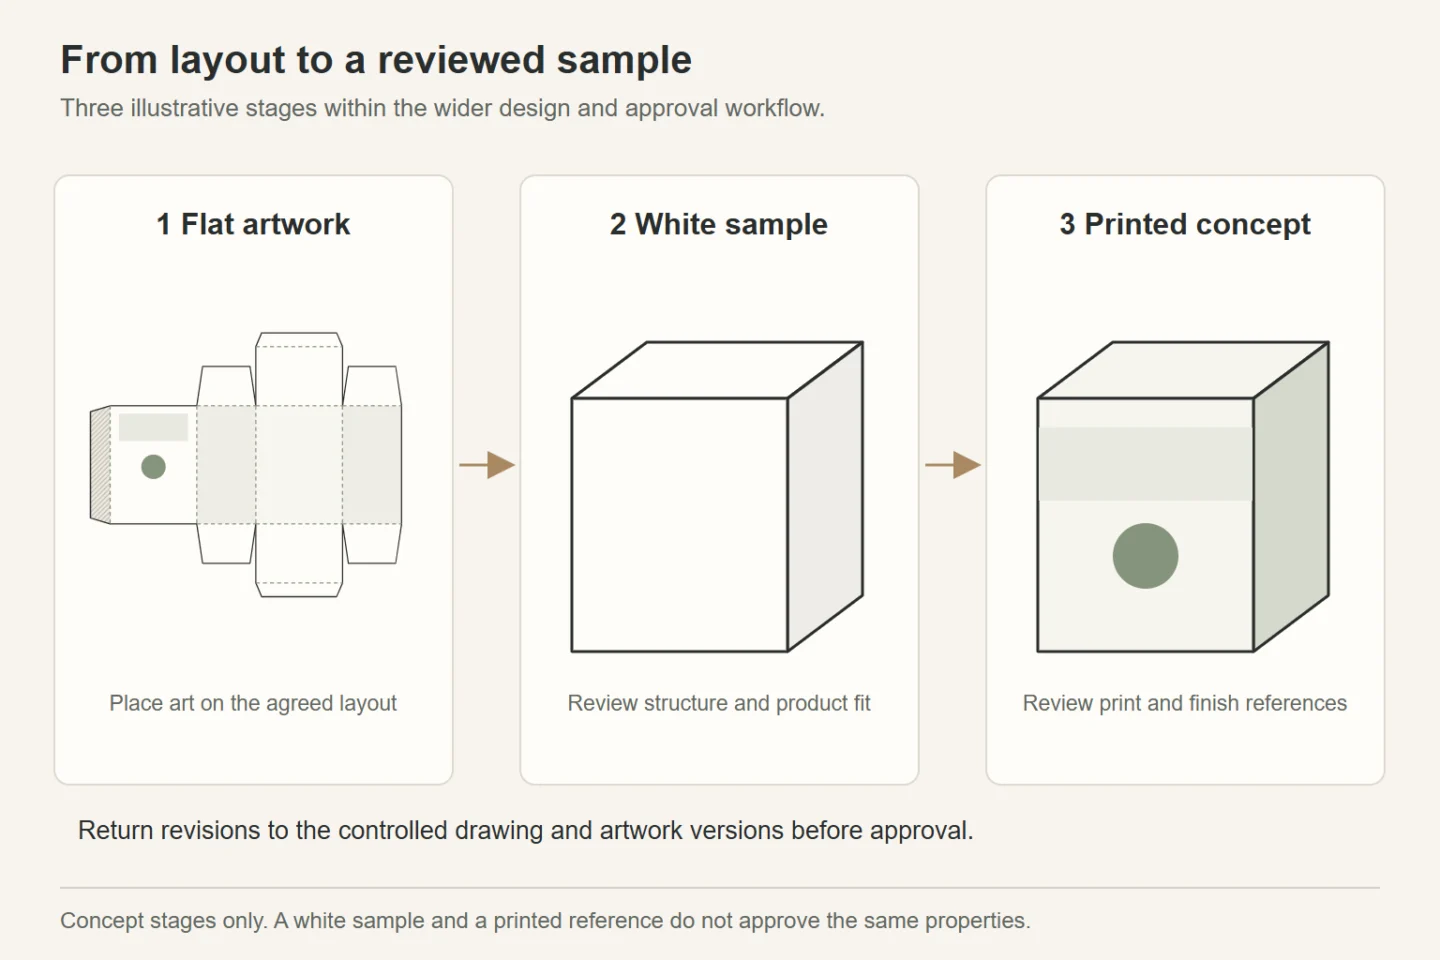
- Produce a white sample. Identify which materials it represents.
- Review structural fit. Check erection, loading, closure, support and removal.
- Produce a printed sample if required. Confirm the represented printing and finishes.
- Approve the final sample. Resolve outstanding conditions before production.
A white sample helps assess structure; it does not approve final printed color. A printed sample may still use simulated finishes or substitute stock. Record what each reference represents.
Retain the approved drawing, artwork versions, material references and physical samples together. Document exceptions and review changes before substituting a new vessel, paper or finish.
Check common candle box design mistakes
Before approval, check for:
- Measuring the glass body while overlooking the fitted lid.
- Treating external box dimensions as usable internal space.
- Forgetting label thickness, accessories or insert supports.
- Placing important artwork across glue areas or the wrong panel.
- Ignoring board thickness when adapting a template.
- Enlarging low-resolution images without checking the printed result.
- Approving a rendering without reviewing a physical sample.
Trial the packing sequence as well as the finished appearance. A box should be reviewed with the people who will erect, fill and close it.
Frequently asked questions
How do you design a candle box dieline?
Begin with the complete product, proposed board, box structure and insert. Have the structural supplier prepare or confirm the drawing, including panels, cuts, creases and joining areas. Check the assembled white sample before locking artwork to that revision.
What measurements are needed for a candle box?
Provide the widest product extent, full height with the lid fitted, label and protrusion details, filled weight and accessory dimensions. Identify units and orientation. Keep these product measurements separate from the box’s usable interior and external dimensions.
How much clearance should an insert leave?
There is no single allowance for every candle. The cavity, material, product variation, loading method and removal access work together. Ask the supplier to propose the fit and confirm it using actual products in an assembled sample.
What is the difference between internal and external box dimensions?
Internal dimensions describe the assembled box interior; external dimensions describe its outside extent. Board, folds and overlaps affect that relationship. Linings and inserts can further reduce the usable product space. Confirm the assembled cavity rather than applying a fixed subtraction to outside measurements.
Should candle brands approve a white sample before printing?
A white sample is useful for checking the structure before committing artwork to it. Review loading, closure, insert fit and removal. Then agree which printed proof or sample will approve color and represented finishes; keep the approval scopes distinct.
Confirm a design that can be produced
Good candle box packaging design connects product measurements, structure, material, insert, artwork and approved references. Compare LUX BOX candle packaging options once the design brief is clear.
Contact LUX BOX with product photos, complete dimensions, filled weight, quantities and packaging requirements to discuss the design and sampling scope.


