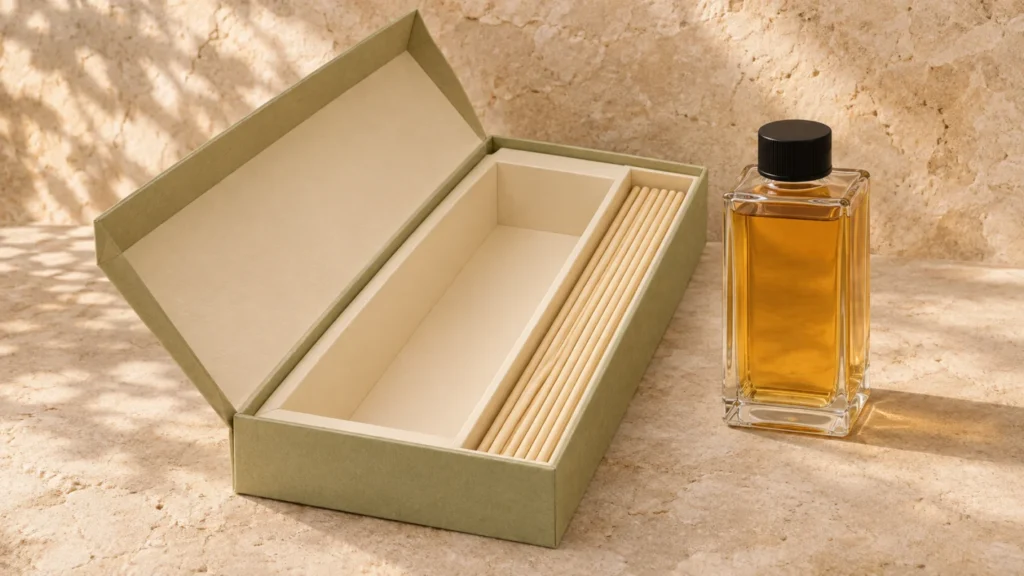
Reed Diffuser Packaging Design Guide
Move from bottle and reed dimensions to supplier-approved structures, artwork and physical samples.
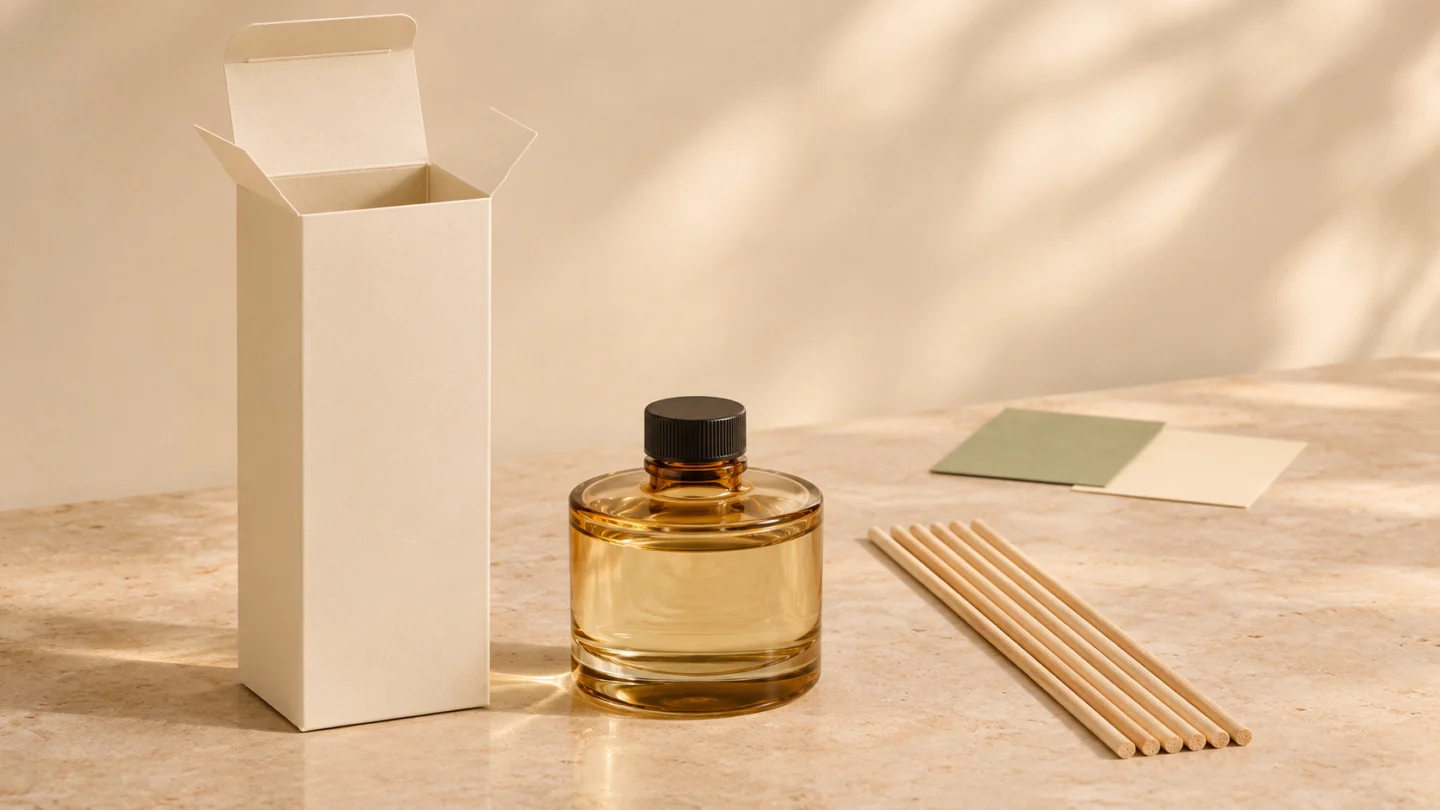
Packaging Design Inspiration
Use this reed diffuser box design guide once you have chosen the bottle and reeds and need to turn that combination into a carton a supplier can make. Start with the dimensions of the closed bottle and wrapped reeds. Then ask your converter for matching drawings for the carton and insert, place the graphics on the issued carton dieline, and check the assembled box with the actual components before approving print.
Consider a brand updating one fragrance in an established range. The bottle stays the same, but the new decorative collar makes the capped assembly taller, and the new sleeve adds thickness to the bundle of dry reeds. The old box may still work. To decide, check the space inside the carton after the insert and folded flaps are in place. That result tells you whether you can reuse the artwork or need to revise the drawings before anyone prints.
If you are still deciding how the set should open or look on the shelf, start with these reed diffuser packaging ideas. The steps here begin once you know which components the customer will receive.
Measure the Bottle and Reed Bundle in Their Packed Form
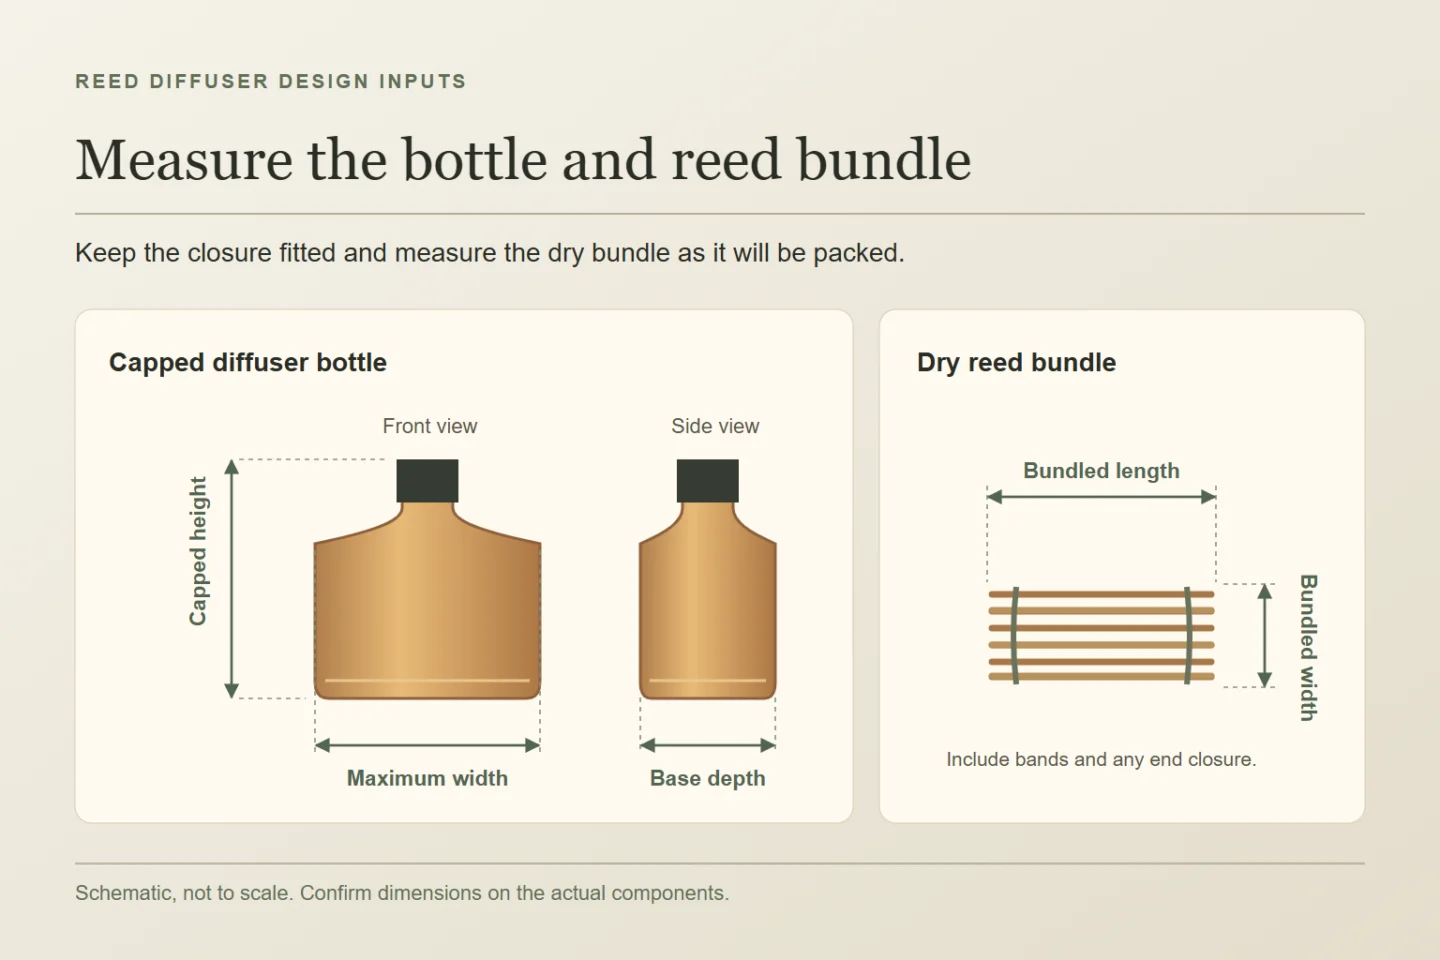
Record the base width and depth or diameter, the widest part of the body or shoulder, and the overall height with the shipping closure and any fitted collar in place. Note the filled weight, the orientation of the front label, and which surfaces the insert can touch. Confirm the closure configuration with the product supplier. If the collar is supplied loose, measure it as a separate component and record that packing choice.
Measure the full length, maximum width and maximum thickness of the dry, wrapped reed bundle. Include seams, overlaps and folded ends. Mark which end the customer should pull from the sleeve or channel. Add any card, funnel or spare cap to the component list. Give your converter actual parts or supplier drawings with confirmed size ranges. Record which dimensions come from drawings and which you have verified on physical samples.
Choose a Structure Around Available Space and Loading
In the example, compare the taller collar against the clear space under the top flap. Then check whether the thicker reeds can pass the same flap and slide into the channel without bending. The overall outside height tells you neither of those things. The height of the raised insert, folds inside the closure and position of the reed stop all reduce the room available to the product.
A long side lane can let both parts load from the same end but takes some of the carton’s width. A rear lane can preserve a narrow front panel but adds depth and may change how the packer loads the bottle. Compare those layouts before changing the footprint of the reed diffuser packaging structure. Confirm the inside dimensions, outside dimensions, board grade and caliper with the converter. The insert and folding geometry can change when the stock changes even if the specified outer size stays the same. See the Diffuser Packaging collection for examples of folding cartons, window boxes and gift packs.
Turn the Chosen Layout into a Dieline
The dieline is the flat drawing that identifies the carton panels and where the board is cut, creased and joined. Have the converter issue a drawing for the carton and a matching one for the insert. Ask them to confirm the usable dimensions around the bottle and reed sleeve, their production allowances, and which changes need approval before printing. Use those files at the approved size.
Imagine the existing carton clears the new collar but its top dust flap blocks the wider reed sleeve. Shifting the reed lane might make enough room without changing that flap. If the collar touches the closed carton as well, ask whether the seat can be lowered without compromising the base support and removal access. Have the converter check both drawings together. Keep the current carton revision if its geometry still works. If a panel or flap changes, approve the revised carton drawing before adapting the artwork.
Read the flat panel map with the folded sample in hand. Mark the front that should face the bottle label, the back reserved for setup instructions, the top that the customer opens and the seam used for joining. Check that the top and bottom artwork reads the right way up once folded. The illustration shows how to interpret the drawing. Use your supplier’s file for production.

Match the Insert to the Carton Revision
Review the carton and insert as an assembled pair. The seat should support the bottle at an appropriate part of its base. Check that the insert leaves room around the collar and that the packer can grip the bottle body to remove it. Add an end restraint for the reed sleeve that leaves its pull end accessible. With the actual sleeve in the lane, check that its seam does not catch a tab or foul the closing flap.
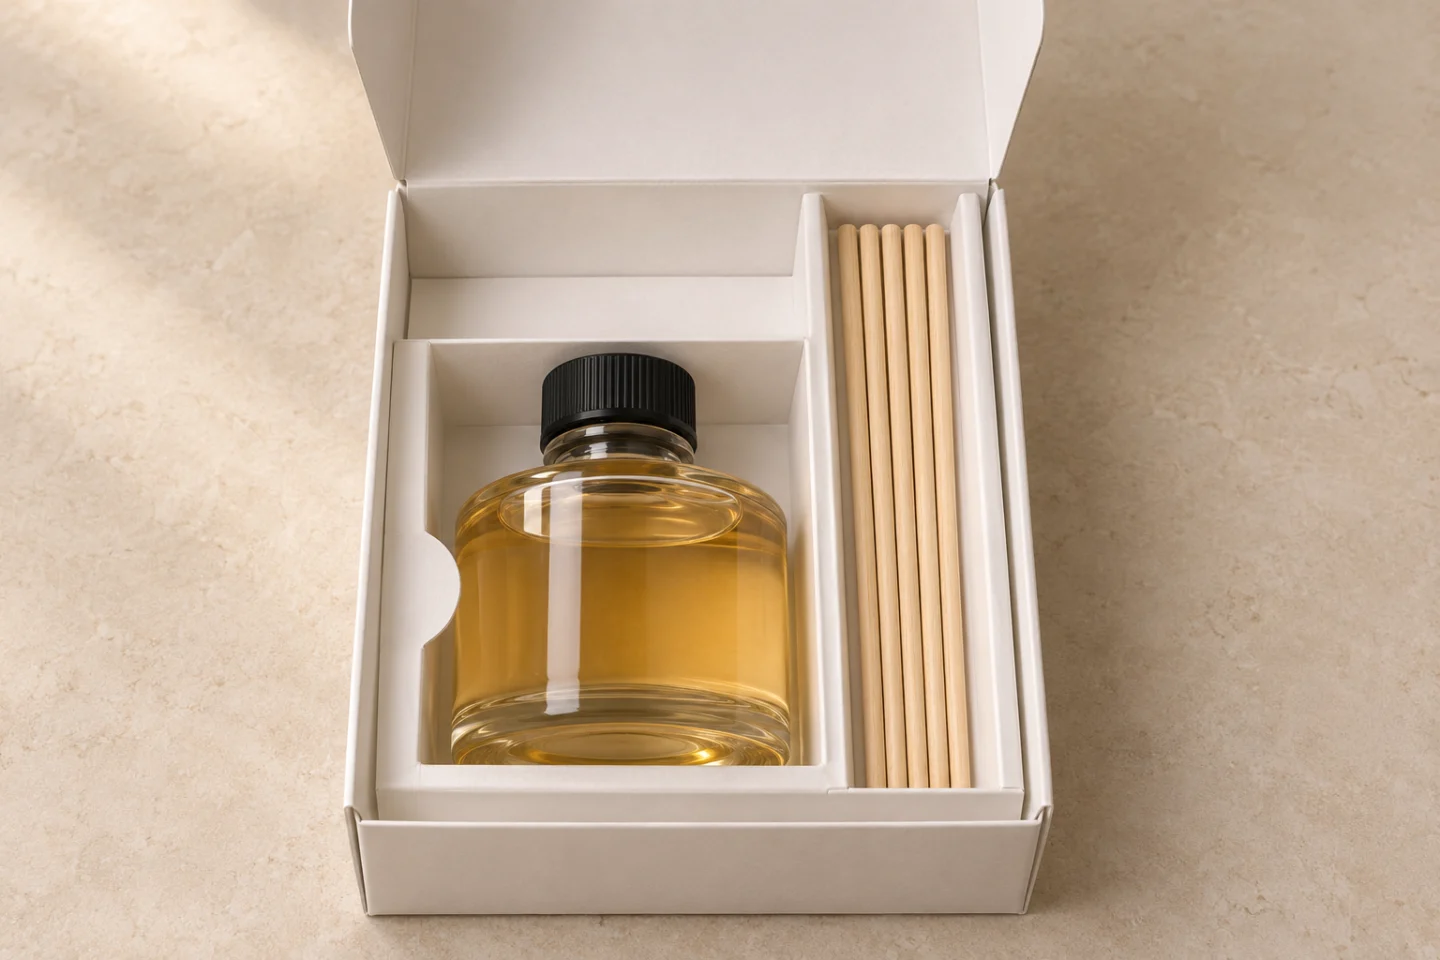
Try both the original and revised components in the proposed box if two fragrances will share it. A tray that fits the new collar and sleeve is only a shared solution if the original components still sit correctly and can be packed and removed in sequence. If the outer carton stays common but the inserts differ, give each insert a distinct part reference and record which fragrance uses it.
Place Artwork and Finishes on the Approved Panel Map
Use the final dieline revision as the reference for the diffuser carton’s artwork. Keep structural lines separate from the printed design and follow the printer’s instructions for bleed, safe areas and nonprinting layers. If the wider reed lane changes a narrow side panel, check the instruction text and any barcode against the revised folds and seam. Reserve enough space for the required information before the brand mark or finish is placed.
Give any foil stamping or embossing its own clearly identified artwork element as directed by the printer. For a tall narrow face, check whether a fine foil mark lands close to a fold after the drawing changes. Approve the placement and appearance on the specified board and finish. A printed color proof can help compare colors, while a physical finishing sample can show how foil, embossing or a coating looks on that stock. The Esko packaging prepress guide explains how the dieline, artwork and production proof are checked together.
Approve a Loaded White Sample, Then Approve Print
Agree what each approval covers. An unprinted white sample can show whether the bottle, collar and dry reed bundle fit through the intended opening, and whether the blank folds and closes as designed. Ask which stock and parts the sample represents. A print or finish proof answers a different question. If the proof uses a substitute board or simulates the foil, record that difference and identify the production sample that will confirm the finished result.
| Approval step | What to review in the updated diffuser pack | Release record |
|---|---|---|
| Converter drawing review | Capped bottle clearance, thicker reed sleeve path, usable inside space and matching carton and insert drawings | Dieline revision for each part and the component references used |
| Loaded white sample | Actual bottle and reeds, removal by the body, complete flap closure and assembly order | Sample ID, board used and accepted structure |
| Artwork and finish approval | Panel orientation, instruction copy, barcode placement if used, and appearance of foil or coating | Artwork revision tied to the carton drawing and the approved proof or sample |
| Preproduction release | Confirm the carton, insert, artwork and sampled components match the same approved combination | Approved references and any conditions to confirm before production |
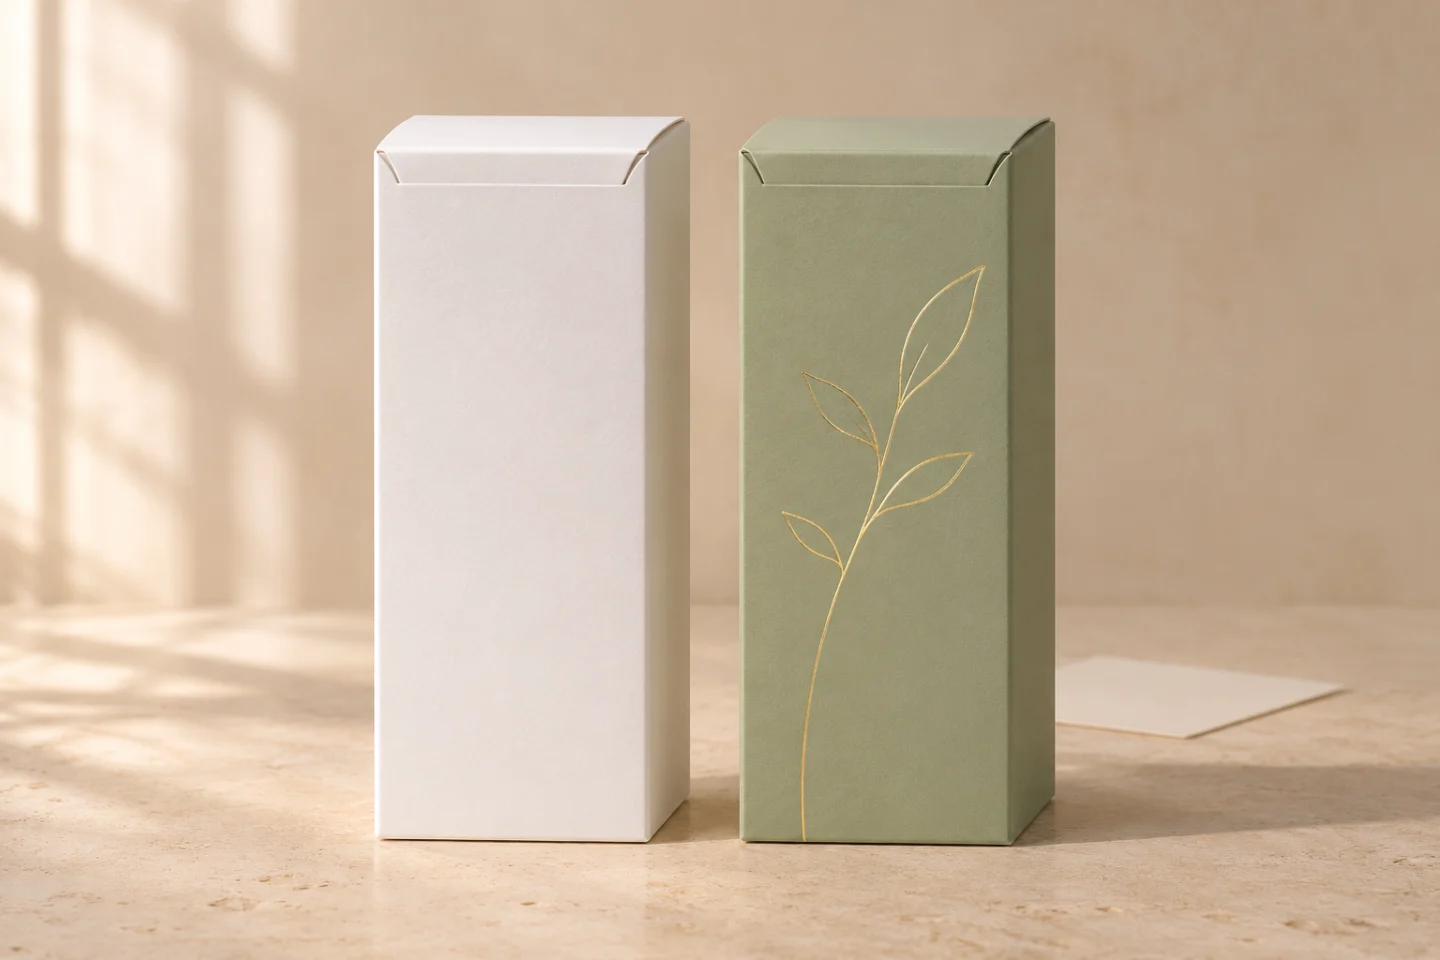
If a new collar or reed sleeve arrives after approval, start at the measurement sheet and identify what it affects. For example, if carton revision B requires the wider insert and revised side-panel art, hold any order that still lists the earlier insert or artwork. Release the specific combination shown on the approved record. The loaded white sample confirms assembly and fit. To assess the complete pack under distribution conditions, use the separate guide to packaging reed diffusers for shipping.
Frequently Asked Questions
How do you design a reed diffuser box dieline?
Give the converter the profile of the capped bottle, the wrapped reed bundle, the desired opening and the proposed insert. Review the usable carton space and the loading path. Ask for compatible carton and insert drawings, then verify them with a loaded unprinted sample. Use the approved carton drawing to place the printed graphics and finishing details.
Which diffuser packaging dimensions matter?
Measure the complete capped height, widest body or shoulder, base width and depth or diameter, plus the length and thickest wrapped cross-section of the reeds. Include any loose components. Confirm inside clearance at folded flaps and around the insert as well as the nominal box size.
What print finishes suit reed diffuser folding cartons?
Test a small foil accent, embossing or a matte finish on the chosen board. Keep fine details and small copy clear of the folds and joint as directed by the printer. Use a sample on the specified stock to evaluate readability, texture and the finish in the intended position.
Send a Brief Your Converter Can Use
Gather the capped bottle and reed measurements, the sample components, the intended opening and a list of the finishes to approve. If you already have a dieline or artwork, include its revision and explain what changed. Share your reed diffuser box design brief with LUX BOX to discuss the carton, insert and sample requirements.